
Applicable to Administrators
Smarsh recommends you to use and deploy WhatsApp Phone Archiver using the Apple Developer Enterprise Program. However, in scenarios where you cannot apply for an Apple Developer Enterprise Program, you can deploy through the regular Apple Developer Program.
Note
- The Apple Developer account can be used to deploy the app only to 100 users.
- The procedure listed here is subject to change based on updates from Apple. Smarsh recommends that you refer Apple documentation for the latest updates.
Deploy Using Apple Developer Program
To deploy WhatsApp Phone Archiver using the Apple Developer Program:
Note:
- If your organization does not have an Apple account for the Developer Program, open a new account.
- If you already have an Apple account for the Developer Program, proceed with Step 2.
1. Create an Apple Developer account
- Navigate to appleid.apple.com.
- Click Create Your Apple ID.
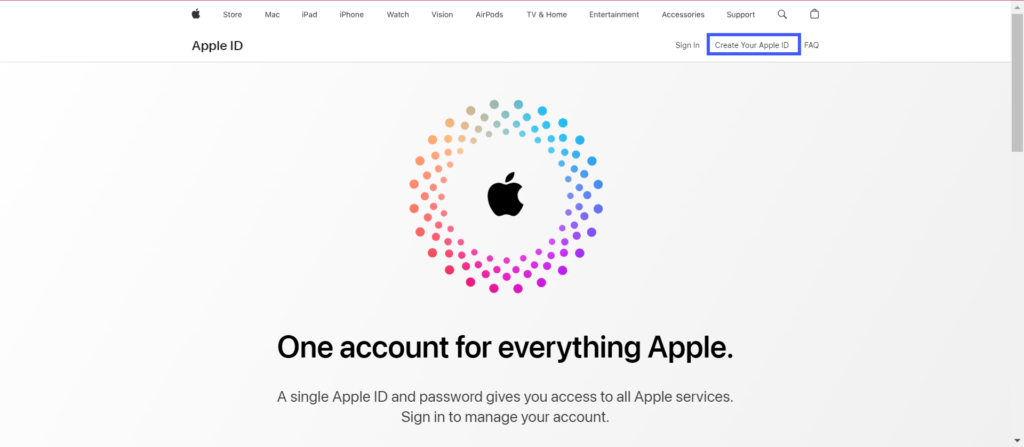
- Enter the required details and click Continue.
Your account is successfully created.
2. Enroll in Developer Program
- Navigate to https://developer.apple.com/account/
- Log in with the email and password of your Apple ID created in the previous step.
- Click Join the Apple Developer Program.
- Click Enroll> Start your enrollment.
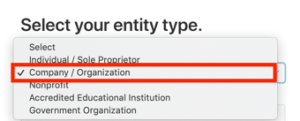
- Select Company / Organizations and click continue
- Select the checkbox and click
- Click Pay.
- Fill your credit card and billing address. Click
After up to 48 hours, you will receive an email with the subject “Welcome to the Apple Developer Program”.
3. Add Smarsh developer to your account
- Contact your Smarsh account manager and request the name and email ID of the Smarsh developer to add to your Apple Developer account.
- Navigate to https://developer.apple.com/account/#/people
- Click Go to App Store Connect.
- Click .
- Select the App Manager
- Select the Access to Certificates, Identifiers & Profiles
- Click Invite.

4. Retrieve the application key
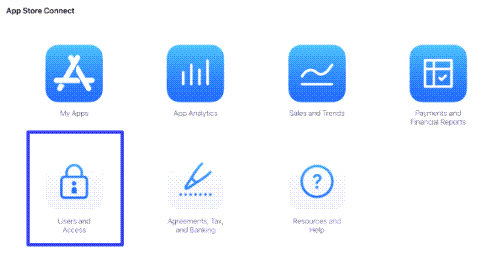
- Navigate to https://appstoreconnect.apple.com/
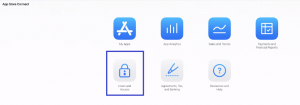
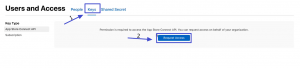
- Click Users and Access.
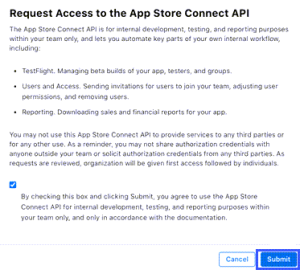
- Click Keys > Request Access.
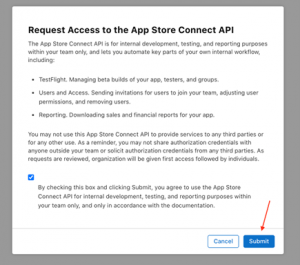
- In the Request Access to the App Store Connect APIwindow, select the checkbox and click Submit.
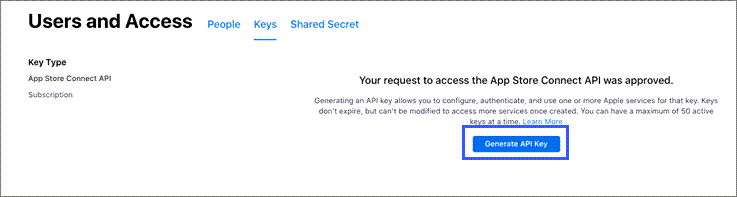
- Click Generate API Key.
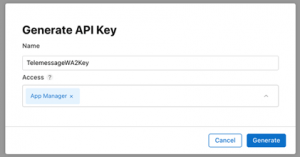
- Enter a name for the API key and select App Manger for Access.
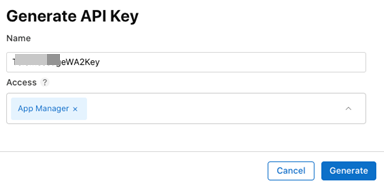
- Click Generate.
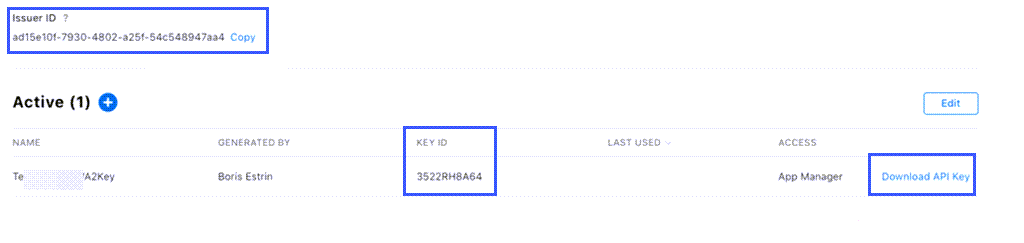
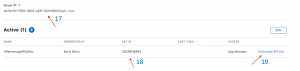
- Make a note of the following details:
- Issuer ID
- Key ID
- Click Download API Keyand save the AuthKey_XXXXXXXX.p8 file.
- Share the following details with your Smarsh account manager:
- Issuer ID
- Key ID
- API key in the p8format
Smarsh will complete the build process and update you when the process is complete. Your Smarsh representative will contact you for the end users’ UUID when the build process is complete.
Limitations
Deploying WhatsApp Phone Archiver using the Apple Developer Program has the following limitations:
- Each mobile phone installation requires adding the iPhone’s UDID to the Apple Account.
- UDIDscan be changed only once a year when the account is renewed.
- WhatsApp Phone Archiver Backup and Restore will only work within the same Apple Account. In case you are using more than one account, you won’t be able to back up from one account app and restore the same backup from another app under a different developer account.
- Smarsh recommends keeping at least 20 empty UDID available for users who wish to change phones.
Note: Apple restricts creation of in-house profiles for 2 weeks after enterprise program activation, mandating a delay before continuing.

Get Application Key
- Enter https://appstoreconnect.apple.com/
- Press “Users and Access”:
- Click the “Keys” tab
- Click the “Request Access” button
- Mark the checkbox and click the “Submit” button:
- Click the “Generate API Key” button
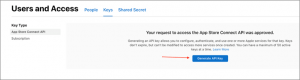 :
: - Enter any name and choose “App Manager” access level
- Click the “Generate” button:
- Click “Issuer ID” and copy it to a new email and send it to your TeleMessage project / account manager.
- Copy “Key ID” and add to mail.
- Click download API key. Attach the AuthKey_XXXXXXXX.p8 file to the mail and send it to your TeleMessage project / account manager.
- Send the email to support@telemessage.com or your account manager.
We will finish the build process and update you when it is complete
Note: TeleMessage support will need the user’s UDID numbers when the process is done.
We will contact you to retrieve them when relevant.