
1. Overview
TeleMessage Android Archiver application supports devices with native call recording. The calls are recorded into a dedicated folder on the phone. The Android Archiver applications needs to configure the calls folder location on the device. The app will try to locate the folder automatically and in case it cannot find it, the user will need to configure it manually.
2. Before you start
- Download the Android Archiver from Google Play
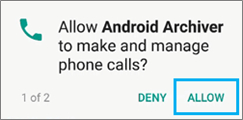
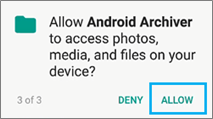
- Phone calls permissions and photos, media and files permissions should be granted during installation:
2. Check if your device supports call recording and the location of the recorded calls local folder
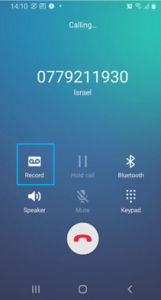
- Go to your native phone dialer app and make any test call.
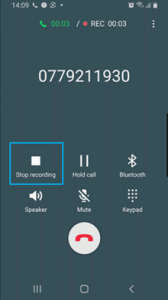
- In case the call screen displays the Record or Stop recording buttons – you can archive your calls. If RECORD or STOP recording controls are not available, calls are not recorded thus, they cannot be archived. Please contact TeleMessage support.
(Note: The phone number displayed below is for illustrative purposes only and is NOT the number set on your phone. Furthermore, the Stop recording button is an Android system-supplied default which will prevent the Android Archiver from functioning and should not be tapped. Any cessation of recording generates an alert sent to the archiving administrator.)
3. Make sure automatic call recording is turned ON. Each vendor might have different settings.
See Samsung example:
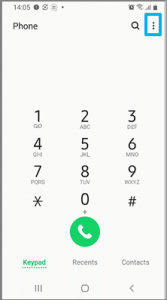
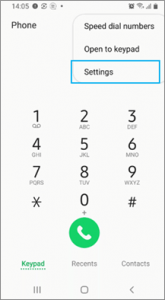
A. Go to Phone -> Keypad screen-> 3 dots menu
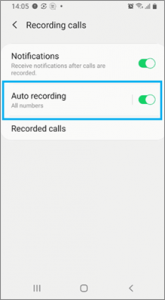
B. Go to Settings -> Recording Calls:

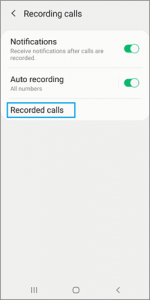
C. Enable the Auto recording option and select All numbers

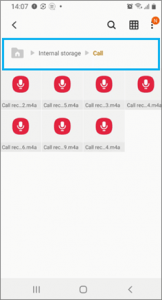
D. Locate your recorded calls folder. See Samsung example. Calls recording folder is located in Internal storage->Call
3. Setting recorded calls folder
- Each vendor has its own recorded calls folder. TeleMessage will try to automatically locate the calls recording folder.
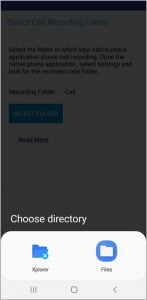
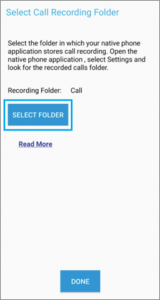
- In case the application does not locate the folder, the recording folder will read: not selected, and the user will need to configure it via SELECT FOLDER
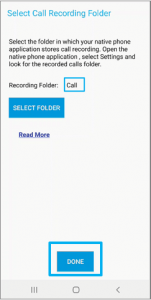
Tap SELECT FOLDER

In case of multiple file explorer apps select any of them
Navigate to the calls recording folder according to the settings
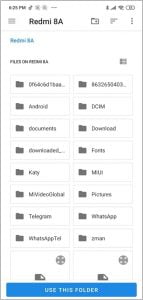
SELECT the folder
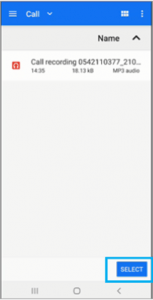
Call folder is selected. Tap DONE
- In case Call Recording was not set for your account, Call Recording settings will be disabled:
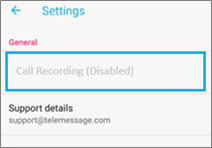
- Devices running Android 9 or less, which do not support call recording, will not have Call Recording settings at all

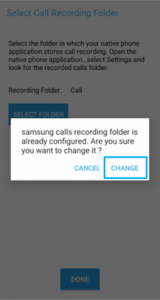
3.1 How to change the folder?
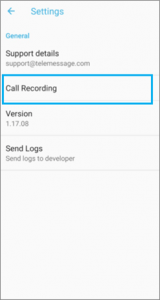
- To change your calls folder, Go to Android Archiver application Settings -> Call Recording -> SELECT FOLDER and choose a new folder.
- Tap CHANGE on the confirmation popup.
- Selecting a new folder will update the path in the call recording setting screen of the device.
4. To learn how to configure voice recording on your android phone – click here
To report problems and send logs – click here
Note: Generated unrecorded Android Archiver files are temporarily stored on the phone before being archived as per company configuration. To configure automatic deletion of these files, read this FAQ.