General
The TeleMessage web portal enables you to compose messages to single and multiple recipients broadcast lists & groups, to view your sent and received messages, manage your personal contacts list, change your account settings, view your usage report and more.
Signup
There are three ways to sign up for TeleMessage Web Interface:
- Through your organization’s administrator. Newly added users will receive a welcome SMS with the link to download the TeleMessage app.
- From the web: go to our signup page.
- By downloading the TeleMessage app. You will receive a username & password to be able to login into the web interface. All users that download and activate the app will be able to view their messages on their mobile devices and web account.
Login
To login into the web portal, you will need to enter your username and password.
You can check the “Remember Username” checkbox and your username will be pre- populated in username field every time you login.
If you click on the “Forgot Password” link, you will be redirected to the “Forgot Password” page.

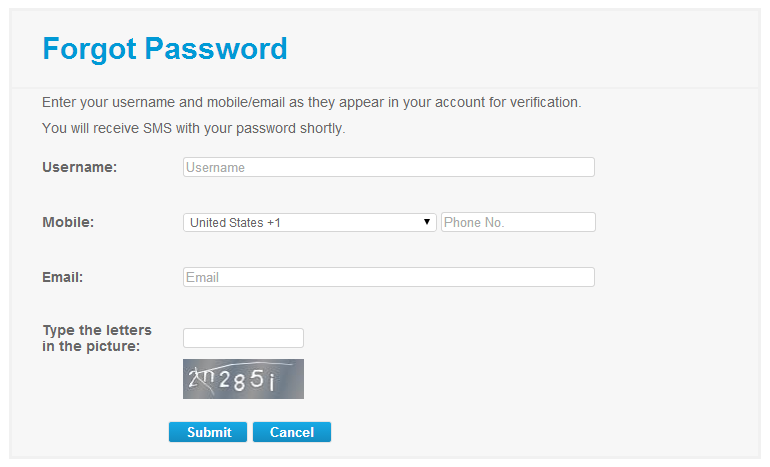
Forgot Password
When you forget your password and click on the “Forgot Password” link from the login screen, you are required to provide the following information: username and phone number and/or email as was used to create your account.
You will receive a SMS message to your mobile phone with the new credentials.
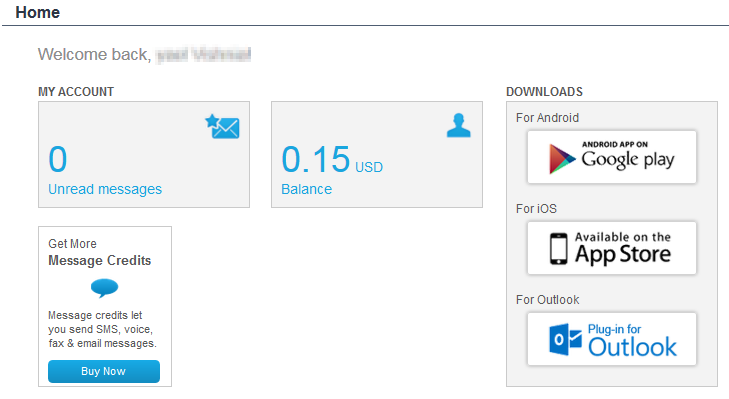
Welcome Page
Once you login, you will be redirected to the “Welcome Page”. Here you can view the amount of unread messages you have and quickly access them, check out your current account credit and buy more if needed and Download the TeleMessage app and Outlook plug-in.
Menu and Orientation
- The menu now appears at the top left corner of the screen.
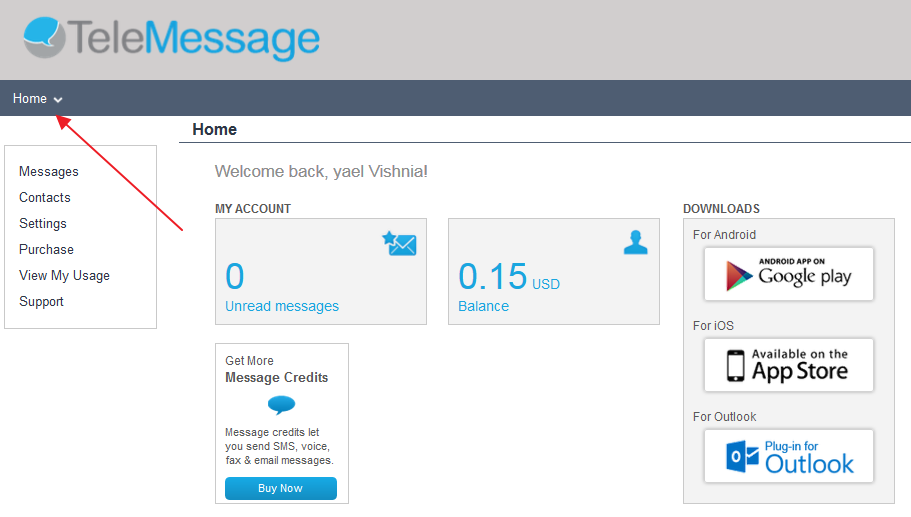
- When clicking the Home button, you will be able to see the following options:
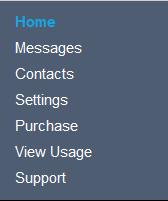
- Messages – Create and send a new message to one or more recipients, view incoming and sent messages.
- Contacts – Your private list of contacts and groups.
- Settings – Message preferences and user profile.
- Purchase – Ability to purchase more credits and upgrade your account.
- View Usage – Message usage report.
- Support
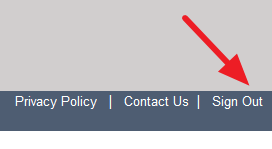
- In order to sign out – click the Sign Out button on the right of the screen.
Compose a New Message
Through the web interface, you can send messages to other mobile phones, landline numbers (for a pre-recorded voice message or text-to-speech message delivered as a phone call), faxes, or to email addresses (ideal for bulk email message).
Adding Recipients One-by-One from the Compose Page
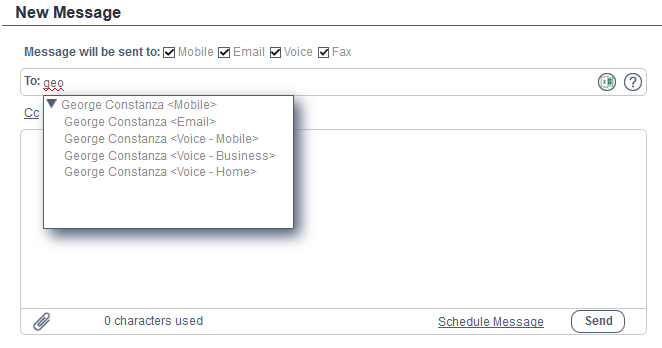
- In order to compose a new message to one or more recipients click Home > Messages > New Message.
- You can start to type a name /phone number/ email address and the system will auto suggest the right recipient according to the following rules:
- When you type a name, the system suggests names from your contacts.
- When you type a number, if it exists in the phone book, the system will suggest a name from the phone book, otherwise it will suggest one the different type of devices for the number.
- When you type @ sign, the autosuggestion will suggest an email. If email exists in the phone book, the system will suggest a name from the phone book; otherwise it will let him select the email you typed in.
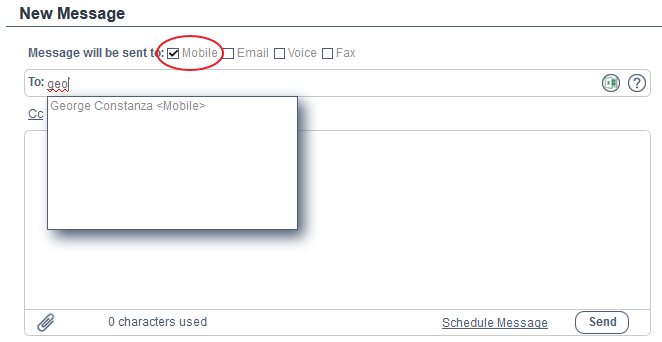
- In case you usually send message to a specific device type, for example Mobile, you can uncheck the Email, Voice and Fax options at the top of the compose page so the autosuggestion will not display these options for you.
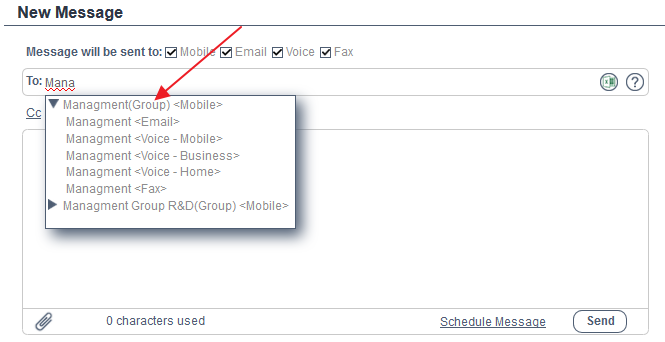
- In order to send a message to a group just type its name in the To field. You can choose to which device inside the group you can send your message to.
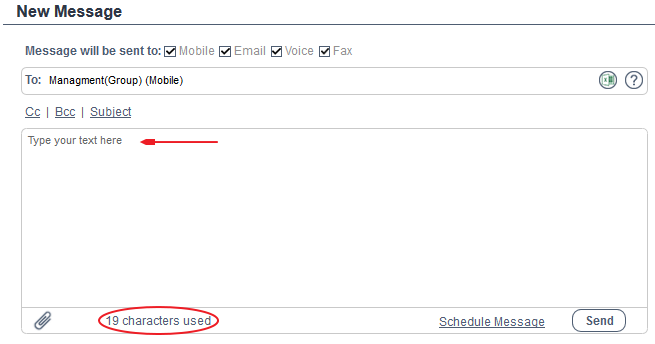
- Type the text for your message in the text area. You can see the amount of characters used at the bottom of the text box.
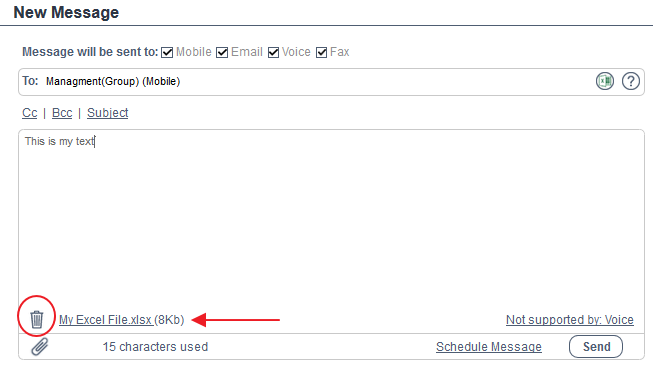
- You can add one or more attachments by clicking on the clip icon and select attachment. Selection of files is done to one file at a time.

- We support up to 3 attachments in one message.
- Various attachments format and sizes according to the following table:

- Once file is added to the message, you can see it in the Text box and delete it if needed.
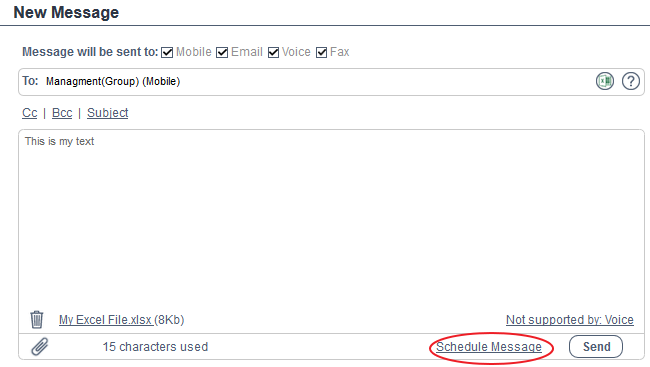
- You can schedule to send the message at a later time by clicking on the “Schedule Message” link and selecting a date and time for the message to be sent.
- You can add a quick text to the message. The text will be added to the message content.

- You can add CC and BCC recipients for emails as well as a subject line.
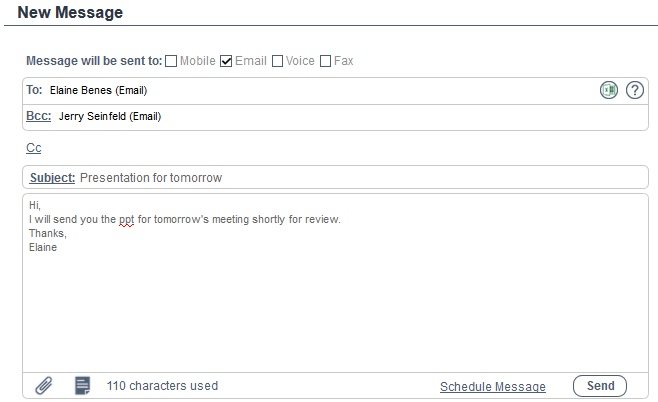
- Hit Send.
- Message status can be seen in the Sent Items folder.
Adding Recipients from the Contacts Window
- In order to compose a new message to one or more recipients from the contact screen click Home > Contacts.
- Check the contacts you would like to send your message to and click New Message.

- Choose the device you would like the message to be sent to and click Next.
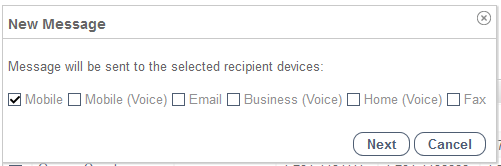
- The compose page will be displayed with the recipients devices you chose.
- Type the message text and hit Send.
- Message status can be seen in the Sent Items folder.
Send a Message to Multiple Recipients
- You can select to import a list of recipients via Excel.
- Create a CSV or Excel file with one column of mobile phone numbers or email addresses. Save it on your computer. Phone numbers must be in international format, e.g. [country_code][area_code][local_number] without breaks, hyphens or spaces.
- From the compose page, click the Send to Multiple Recipients button.
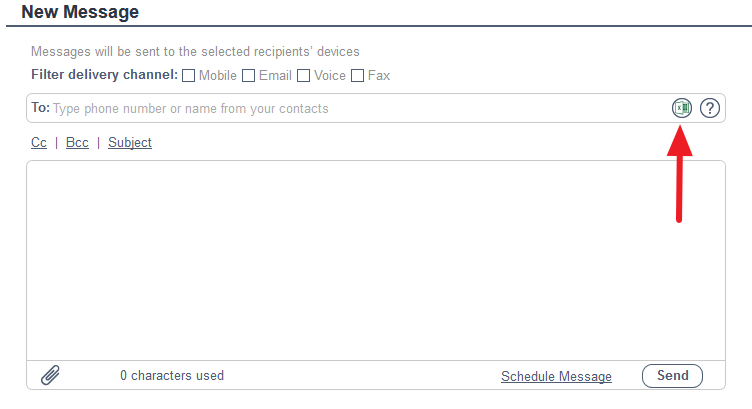
- In the browser window, choose the Excel/CSV file you created and click Open.
- Choose the device you would like the message to be sent (Mobile, Voice, Fax or Email).
- Type the text for your message in the text area.
- Hit Send.
- Message status can be seen in the Sent Items folder.
Manage Messages
You can manage your incoming and outgoing messages from the Messages menu.
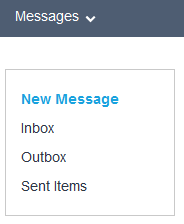
Inbox
- The messages you receive are placed in the Inbox folder according to the time they were received. You can search for a specific message according to the time is delivered.
- Message information contains Message type, Attachment indicator, Sender, Subject / Message content prefix, Message received time.

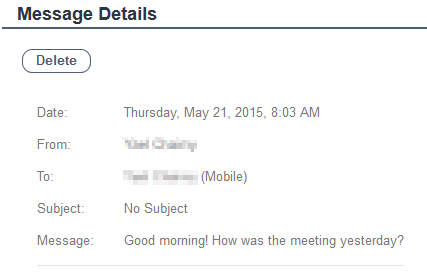
- For your convenience, we are showing you the message subject or in case there is not subject – the first few words of the message. For more message details (text and attachments), click on the message subject.
- From the Message Details screen you can also delete the message.
- You can select one or more messages and delete them by clicking on the “Delete” button.
- You can delete all the messages from your Inbox by clicking “Empty”.
Outbox
- Usually this folder is empty .Your messages remain in the Outbox folder when:
- Messages were not received by the recipient provider.
- Messages are scheduled to be sent at a later time.
- In case you have many messages in this folder and you want to search for a specific message, you can either change the time range or search for a specific message by device value or message subject or whether the message information contains message type, attachment indicator, recipient, subject/message content prefix, message received time.

- For your convenience, we are showing you the message subject or in case there is not subject – the first few words of the message. For more message details (text and attachments), click on the message subject.
- You can select one or more messages and delete them by clicking on the “Delete” button.
- You can delete all the messages from your Inbox by clicking “Empty”.
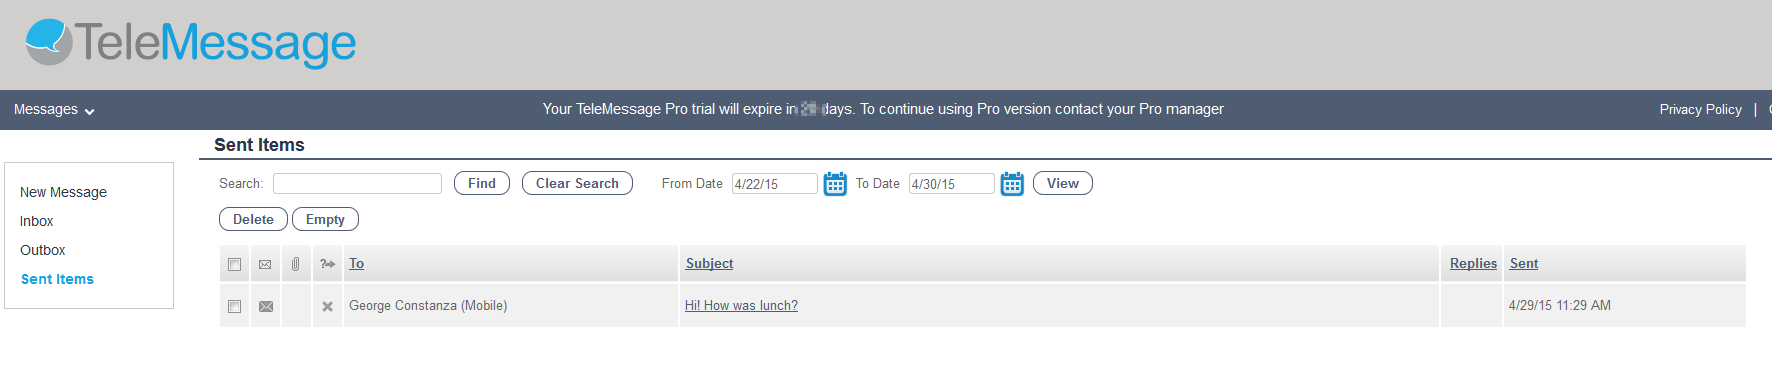
Sent Items and Message Status
- The messages you sent are placed in the Sent Items folder according to the time they were sent.
- You can search for a specific message by device value or message subject or if the message information contains message type, attachment indicator, recipient, subject/message content prefix, message received time.
- For your convenience, we are showing you the message subject or in case there is not subject – the first few words of the message. For more message details (text and attachments), click on the message subject.
- You can select one or more messages and delete them by clicking on the “Delete” button.
- You can delete all the messages from your Inbox by clicking “Empty”.
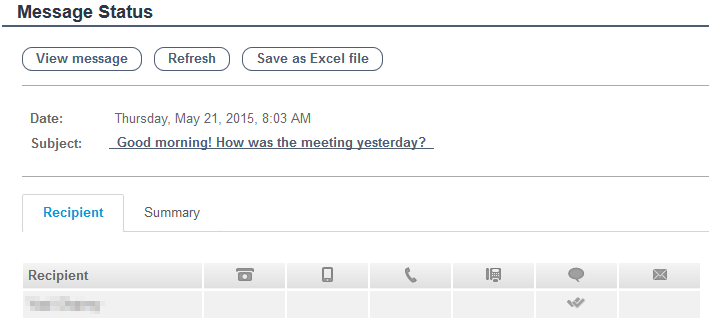
- In order to see what the message status is, click on the status icon near the message.

- Message Status Page:
- In the “Recipient” tab, you can see the message status per recipient.
- In the “Summary” tab, you can see the message summary grouped by status.
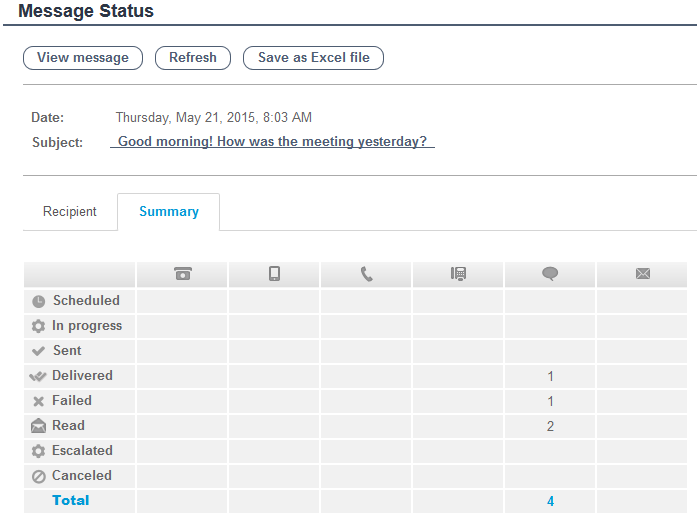
- By clicking on “View Message“, you will be redirected to the “Message Details” screen.
- In order to view the most updated message status, click the “Refresh” button.
- You can also save the statuses of recipients to a file by clicking on “Save as Excel file” button.
Contacts and Groups
As a user can you can use your own private contact list or use contacts from the global contacts list. The global contacts list is created and managed by your company administrator. You can send messages to these contacts and even incorporate them in your personal groups, but you cannot modify their details and information.
Contacts Screen
You can see all personal and global contacts in the Contacts screen. Global contacts have a shared contact icon. You can search to find specific contacts in your personal or global contact lists. You can search by name, number, email or any other information item you have on the contact.
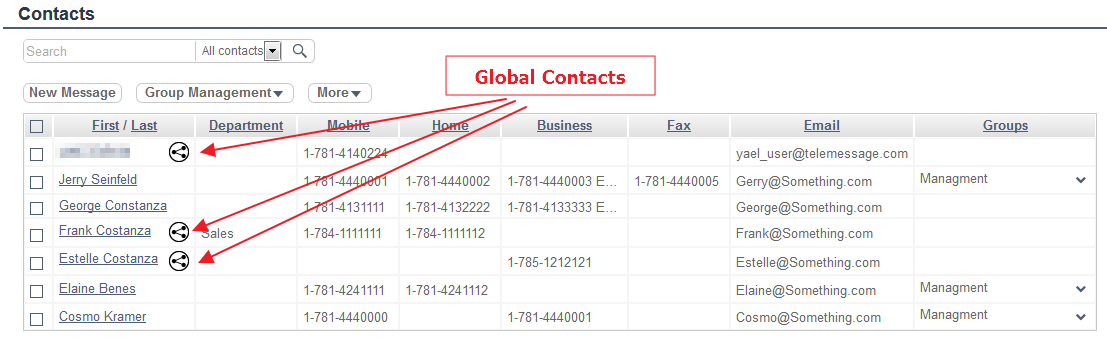
From the main Contacts window you can:
- View contact information
- Create a new message
- Add contact to group or remove a contact from a group
- Send a message to all the contacts in your contact list
- Delete contacts
- Import contacts from excel into your contact list
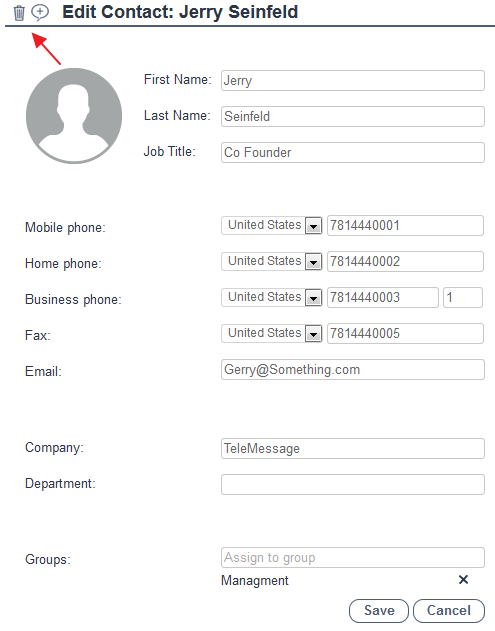
View Contact Information
When you click on the name of the contact, the contact information screen is opened. Personal and global contacts will look slightly different.
Personal Contacts
You can change all the personal information of your contact in this page. Just don’t forget to click “Save”. You can also delete your contact or send him a new message using the icons on the top left of the screen. At the bottom of the screen you have the option to add him to groups or remove him from groups he is in.
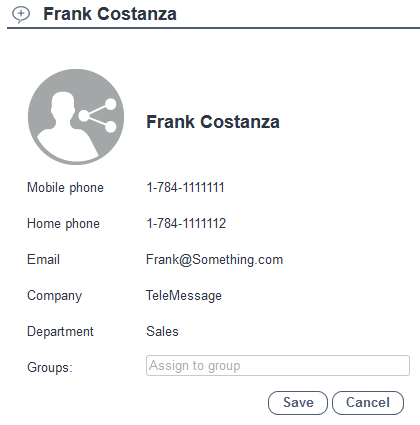
Global Contacts
You can view this contact information but you will not be able to change it. You can send him a new message using the icon on the top left of the screen. At the bottom of the screen you have the option to add him to your personal groups or remove him from them.
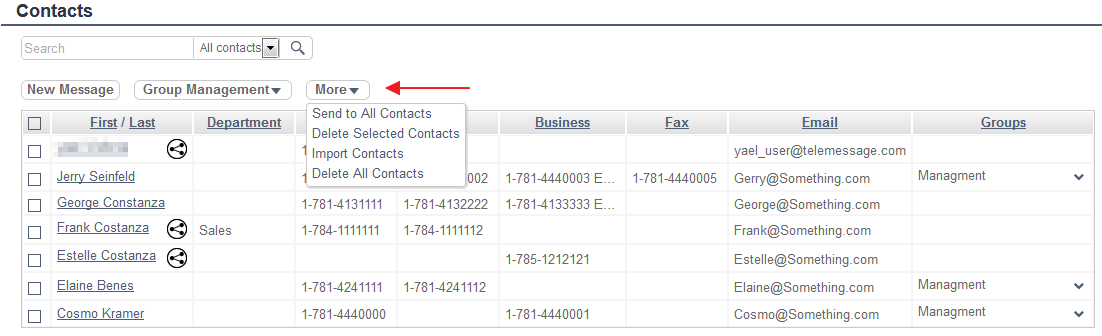
Additional Actions from the Contact Screen
In the contacts screen you have the “More” button. The following actions are available:
- Send to All Contacts: Sends a message to all the people in your contacts list.
- Delete Selected Contacts: Deletes all the recipients you selected using the checkboxes.
- Import Contacts: Import contact from Excel into the contacts list. You can import the contact to the main contacts list or directly into a group.
- Delete All Contacts: Deletes all your personal contacts.
Create a New Contact
- From the menu, click Contacts.
- Click New Contact.
- Enter the contacts’ information and hit Save.
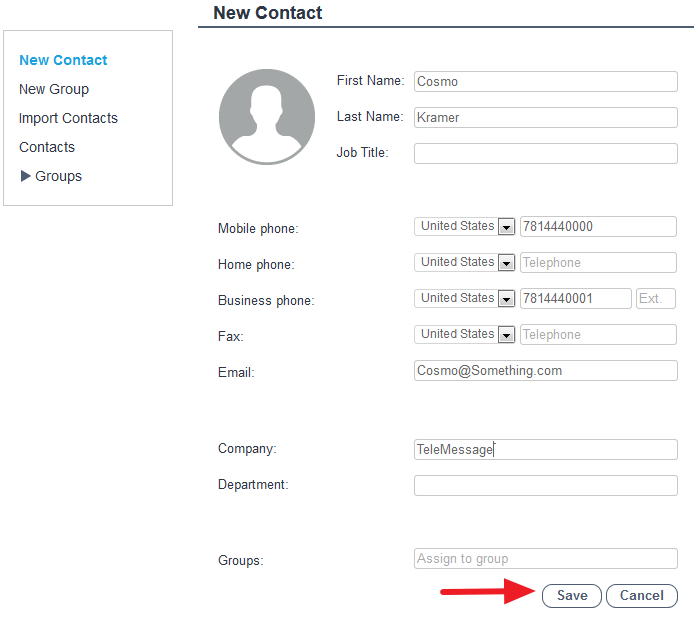
- The new contact will appear in your Contacts list.
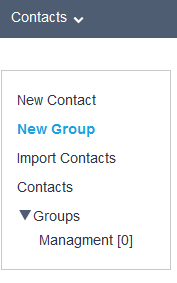
Create a New Group
- From the menu, Click on Contacts > New Group
- Type the group name and hit Save.
- The new group will be displayed under the Groups menu with zero group members.
- In order to add contact to your group: click on the Contacts menu item.
- Check the contacts you want to add to your group.
- Click Group Management button.
- Choose the group you want to add your contacts to and hit Apply.
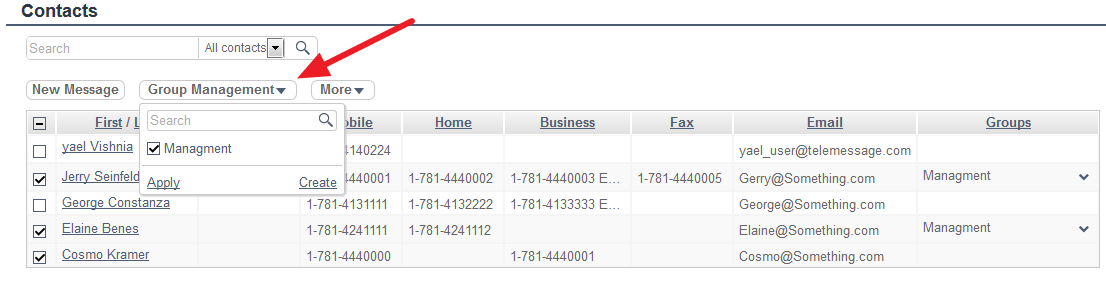
- Check the group item on the left menu – it now contains the new group members.

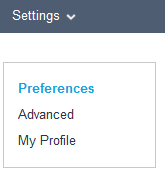
Settings & User Preferences
Clicking on the Settings menu opens a sub menu with the following options: Preferences, Advanced and User Profile.
Preferences
In the Preferences page, you define your preferences for Text messages (SMS, MMS, and IP), Voice, Fax and replies.
SMS/IP
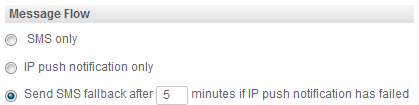
“Message flow” lets you set the way you want to your text message to be sent. You can either send SMS messages or IP messages to the TeleMessage app. You can also choose a combination of both, meaning if the message recipient has TeleMessage app, he will get the message to his app and if not, we will send him an SMS.
Long Concatenated SMS

Since SMS messages are limited in length (up to 160 characters in English), we can limit the amount of SMS messages you send out per message.
For example: if you type a message which is 200 characters long, in order to send it in full, we need to send out 2 SMS messages. You can choose that the system will automatically limit you and send out only the first SMS, regardless of the message original length.
Replies
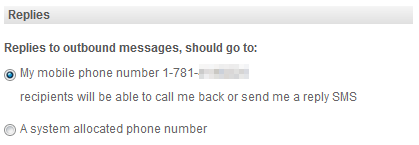
When you send out a message, we can send this message either from your own mobile number or from a system allocated number. When recipients reply to these messages, the replies will be routed back to our server, and displayed on the Web or in the TeleMessage app.
SMS Template
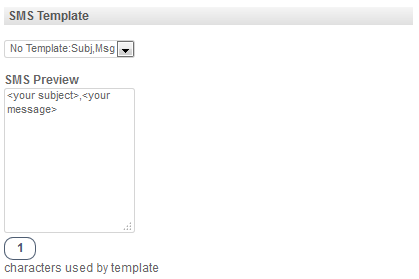
If you want to send out a SMS message with a predefine template/structure, you can use one of the following options:
- No template: subject, message (default option)
- Long: Sender, subject, message (with tags)
- Short: Sender subject, message
Voice
In case you are sending voice messages on regular basis and would like to begin each message with a predefined voice prefix of your own, you can attach one here.
Fax Settings
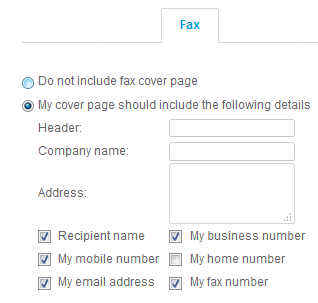
You can customize the cover page for all your outgoing faxes with a header, company name, address, mobile number, fax number etc.
Advanced
Filtering Rules
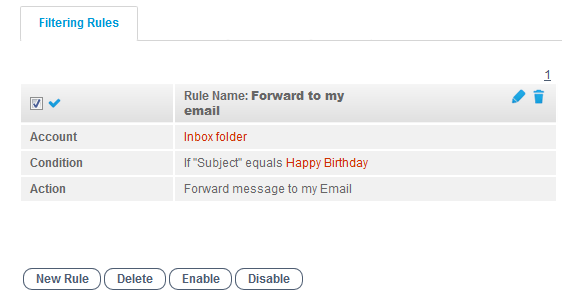
You can create, edit and delete rules. Rules are useful for forwarding messages and replying to messages automatically.
Every rule is a combination of condition and action:
- The condition refers to the messages to be handled – from where, who is in the To/CC lines, message subject or message text.
- The action refers to what should be done with the message – forward it to someone, reply with a specific text etc.
You can also enable or disable a specific rule by clicking on “Enable” or “Disable button. Use this option when you want to temporarily deactivate a rule without deleting it completely.
Quick Text
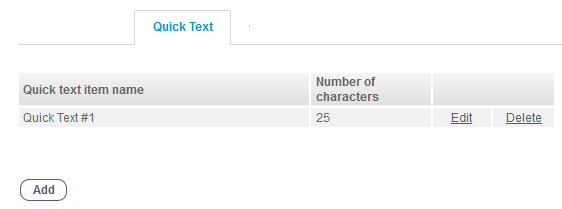
Quick text is a pre-defined short text that you can embed in your messages.
You can create a new quick text, Edit or Delete it.
Quick texts are added to the message from the compose page.
My Profile
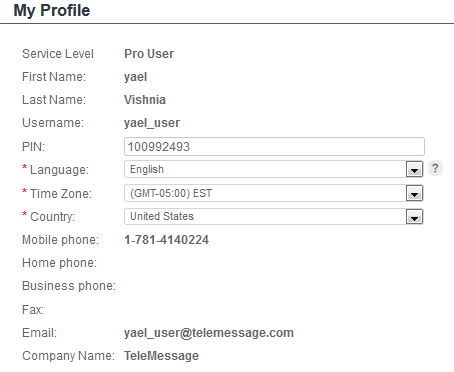
In this page you can see your own personal details. In case any of these details is wrong – you will need to contact your company administrator.
What you can set on your own is the language in which the web interface is displayed for you.
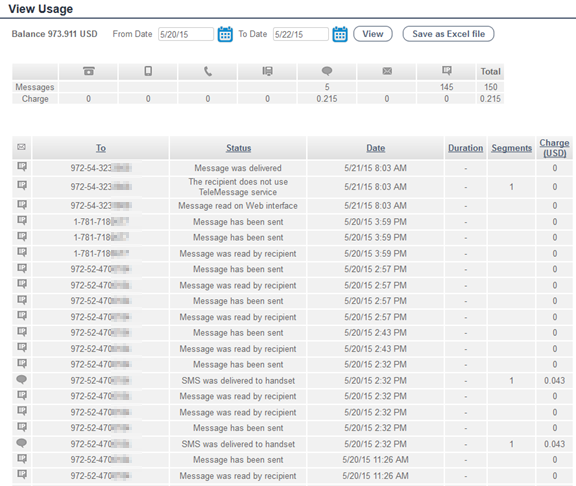
View Usage
The first summary table shows you the total number of message, calls, emails and messages you sent during the requested time interval and how much you were charged for it all.
The 2nd table is detailed per message recipient and you can see per message the following information (If messages were sent to multiple recipients, each recipient will be represented in a row in the table):
- Message type – IP, SMS, Voice, Email
- Destination – recipient device value
- Message delivery status
- Message time
- Duration – for voice calls
- Segments – How many SMS were sent (SMS only)